 3
3
 2
2
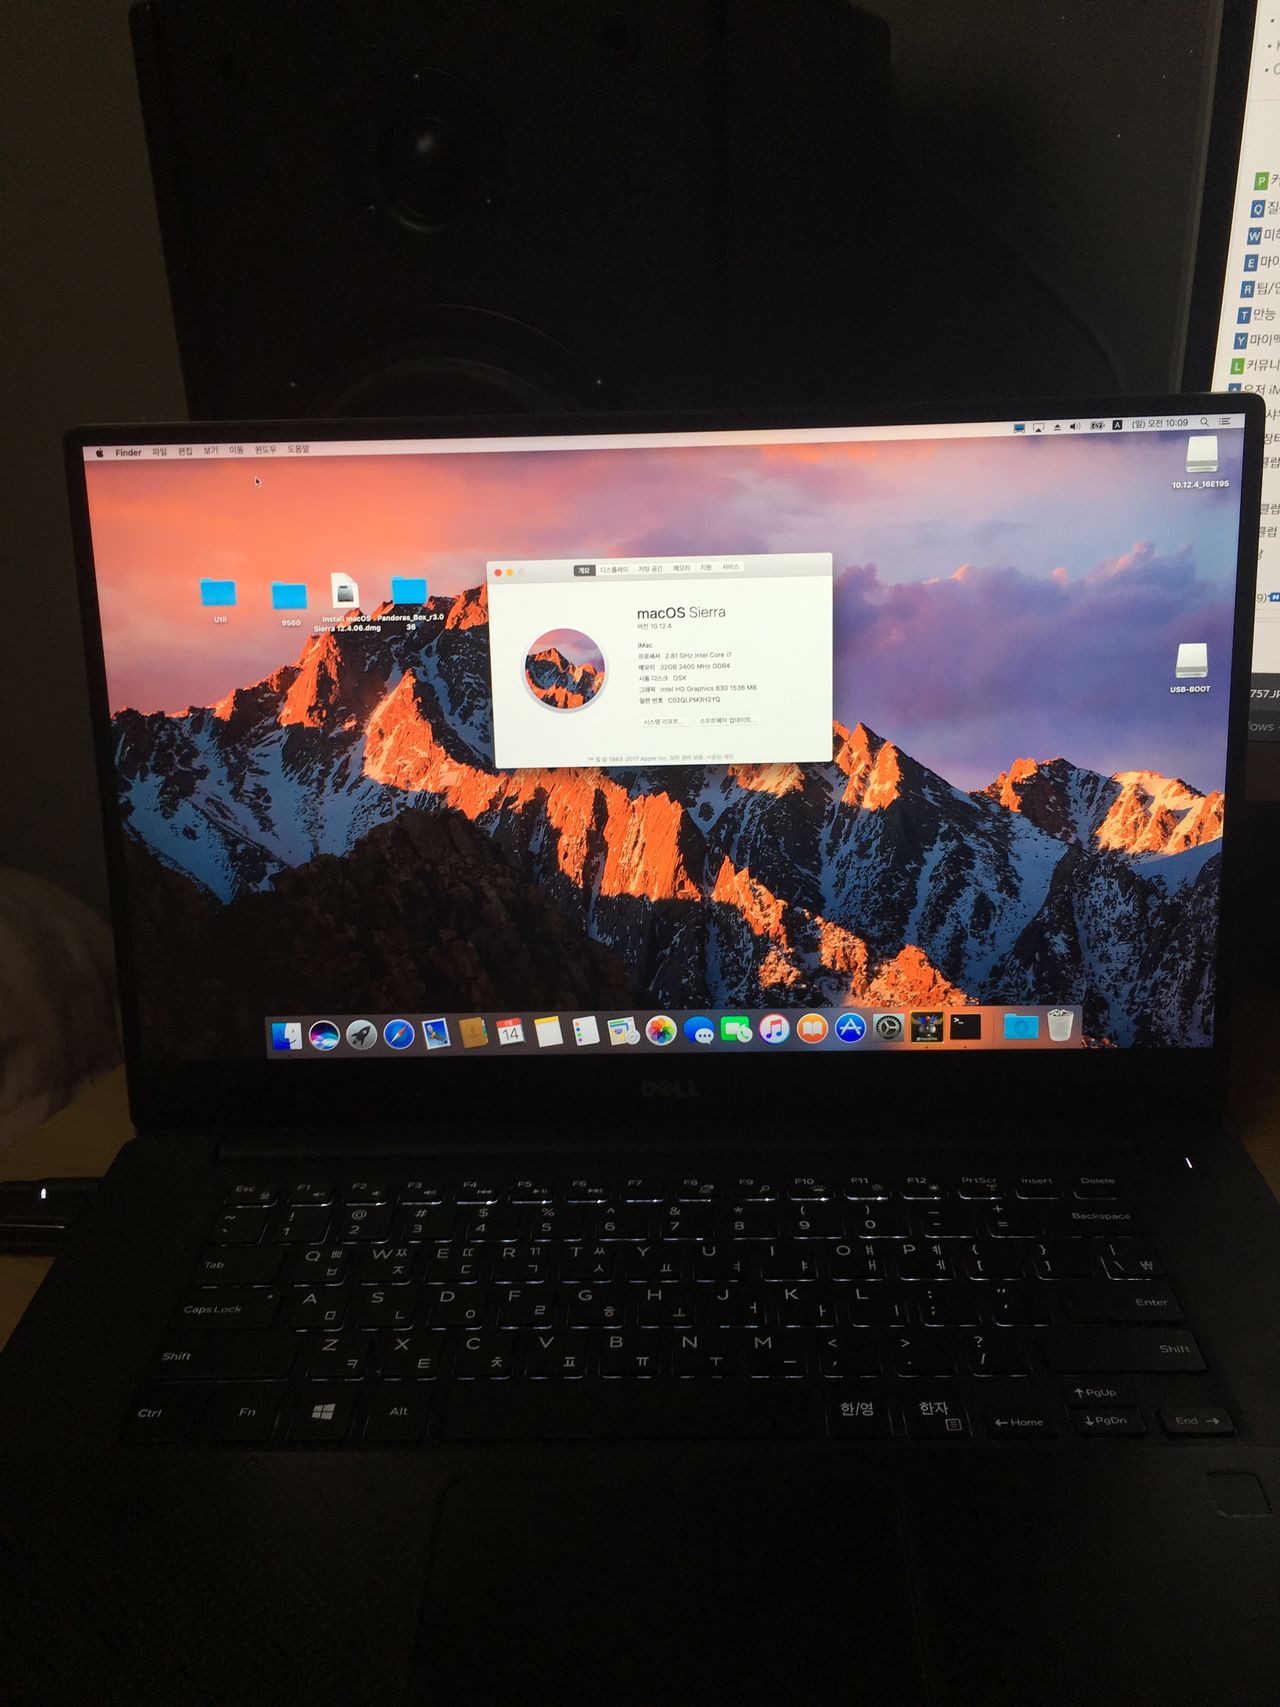
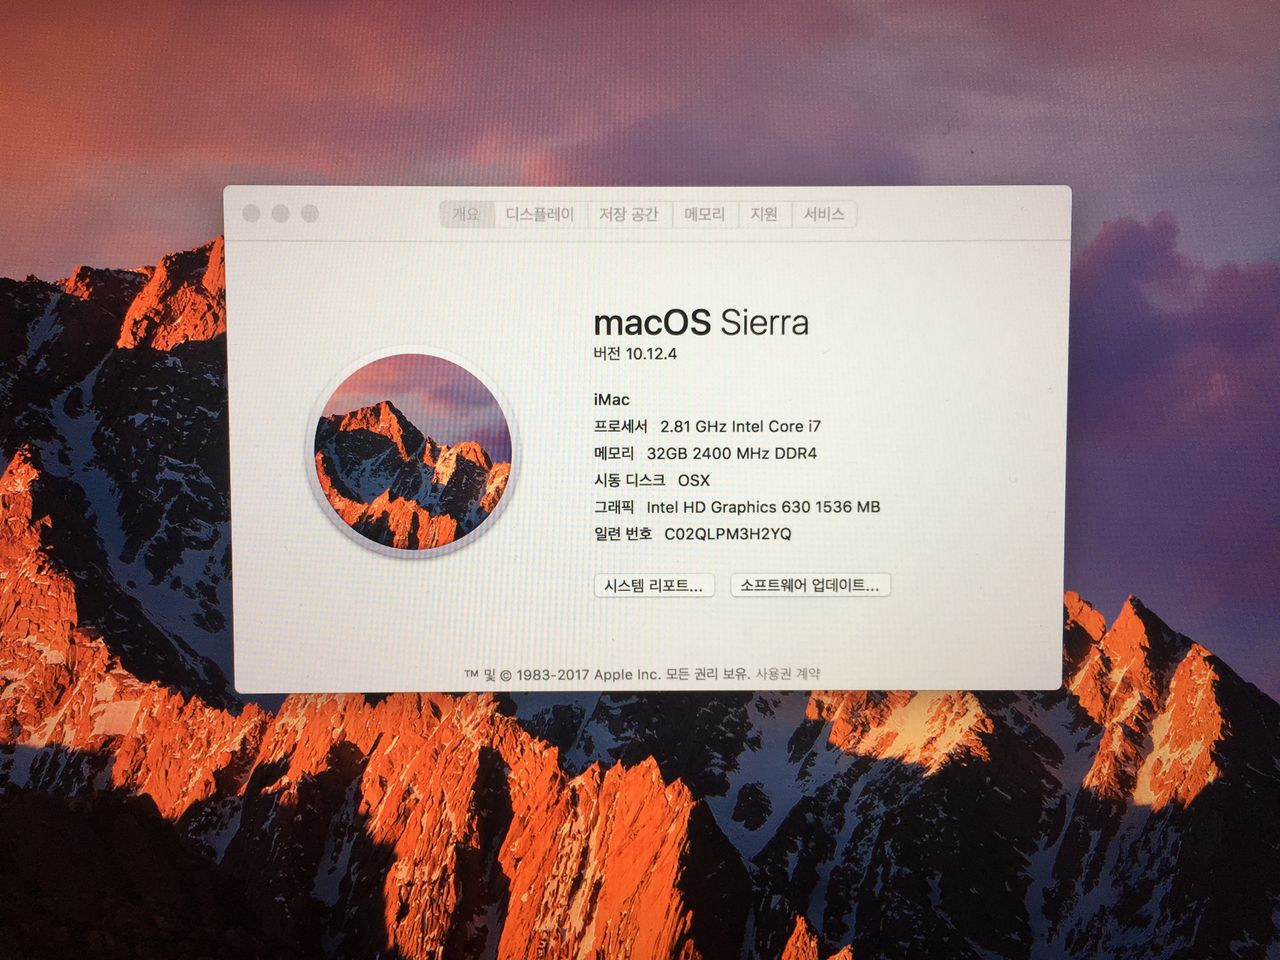
 DELL XPS 15 9560 UHD (10.12.4)
- S써니
- 3760
- 31
S써니님의 기기정보
| 후기사양 직접 입력 | DELL XPS 15 9560 UHD |
|---|---|
| 설치필수파일첨부 | 숙지 |
https://www.insanelymac.com/forum/topic/320016-dell-xps-15-9560-version-2017-compatibility-information/?p=2419202
가이드가 올라왔길래 그대로 보고 따라했습니다.
커스텀맥 설치는 아예 처음해보는지라 보고 따라하는데만 거의 1주일이 걸렸네요...;;
시에라 10.12.4와 윈도우10 듀얼부팅해서 사용하고 있습니다.
모니터 터치스크린까지 될 줄은 몰랐는데 터치가 되네요..
계속 부팅이 안되서 뭐가 문제인지 1주일을 고생하다가
글을 제대로 정독하지 않아서 SSDT-Hackr.aml 파일을 /CLOVER/ACPI/patched 에 넣는걸 못보고 넘겼습니다..
이거 하나 해주니 바로 부팅이 되더군요..
랜카드는 조만간 DW1560으로 교체할 예정입니다. XPS 15 에 내장되어있는 Killer 1535는 사용이 불가능한 모양이더군요.
후기를 보면 sd 카드리더, usb-c, hdmi 오디오, 외장그래픽이 안된다고 하네요.
좌절금지님께서 올려주신 10.12.4로 설치해서 잘 사용하고 있습니다
kext파일은 가이드에 올려준것 그대로 패치해서 사용중입니다.
1주일간 밤늦게까지 컴퓨터앞에서 커맥설치로 고생하다가
그래도 잘 설치되니 기분 좋네요ㅎㅎ
확실히 XPS 15 디스플레이가 좋다보니 UHD에 HiDPi가 잘먹혀서 참 보기가 좋습니다.
지문인식만 시에라에서 사용가능하면 편리할텐데 어찌 방법이 없겠죠 ㅠ
Dell XPS 15 9560 - Toshiba 1TB/4K UHD Touch/32GB
I've managed to get an almost perfect macOS Sierra 10.12.4 (clean) install working.
Not working:
- USB-C -Any help on this would be appreciated. My Dell DA200 does not work.
- SD Card Reader -Don't think this will ever work?
- HDMI Audio -Probably because I'm using voodooHDA.
- nVidia 1050 -Will probably never work. Doesn't matter I have windows & ubuntu on a triple boot.
Working:
- Sleep
- Brightness
- HDMI out
- Webcam
- Audio (Headphones & Speakers, but no jack-sensing as I'm using voodooHDA, only kext that works for me. Kexts that sense the headphone jack correctly don't give me any audio.)
- Thunderbolt? (My Akitio Thunderbolt 2 eGPU with a nVidia 1060 works great.)
- WiFi (Killer WiFi has been swapped with the Dell/Broadcom card.)
- Almost everything else.
Notable improvements:
- 4K sector patch for my SSD so I do not rely on any kexts/patches and sleep/hibernate functions as it should.
- Completely vanilla S/L/E & L/E. All kexts are injected from clover. This means it's relatively update proof.
In order to get the webcam working I took the kext from bozma88's 9360 thread and edited it for the webcam in my 9560 (VID7119 PID11157). I then also had to use the USBInjectAll kext with the correct SSDT-UIAC.aml.
I made the SSDT myself before realising there's already an uncompiled version in wmchris' repo. 
In order to get headphones on VoodooHDA working correctly, I inject CodecCommander and VoodooHDA, but I also need to run a modified version of the script from wmchris' AppleHDA_sysCL folder in his repo (not using the kext, essentially).
I tried using an alternative kext for the trackpad but reverted to voodooPS2, YMMV.
Installation instructions:
These assume you have the knowledge to change the UEFI/BIOS settings, create installation media, use clover and mount the EFI partition etc. Unfortunately I don't have the time to write that out!
This isn't an in depth guide, just a guide to easily to use my files. For an in depth guide look at wmchris' 9550 thread but use my files where necessary.
Before you start, if you can, follow the steps for the 4k sector patch on wmchris' thread. You will lose ALL YOUR DATA.
- Download the latest macOS from the App Store and create installation media on a USB
- Download the files attached to this post
- Extract the CLOVER folder to the EFI partition in /EFI/ on your USB
- For those of you with a non-touch HD screen delete the CoreDisplayFixup.kext from the CLOVER/kexts/other directory. You don't need it. (n.b I haven't tested this on another laptop so I don't know if this will work.)
- For those that couldn't do the 4k sector fix, extract the HackrNVMe.zip file and place the kext in the CLOVER/kexts/other directory. Place the SSDT-Hackr.aml in the /CLOVER/ACPI/patched directory. (n.b I haven't tested this on another laptop so I don't know if this will work, it worked for me before I applied the 4k sector patch. For more help on different NVMes refer to wmchris' thread.)
- Boot into clover on your USB, boot the installer, partition as you need and install macOS.
- Boot into clover on your USB, boot the partition you just installed and run through the setup. (You will probably not have WiFi or headphones working yet.)
- Extract the AudioFix.zip somewhere convenient.
- Open terminal and navigate (cd) to the AudioFix folder.
- Run the script (./install.sh) (This should fix your headphones and WiFi after a reboot.)
- Copy the entire CLOVER directory from your USB's EFI partition to your laptop's EFI partition. (diskutil mount disk0s1 and diskutil mount disk1s1 to mount them usually).
- Restart and boot from clover on your laptop. You may need to add a boot option in the UEFI/BIOS.
- You should now have a working Mac install!
Personally I use a MacBook 13,3 SMBIOS, but I copied the iMac SMBIOS from wmchris' config for this config.plist.
Let me know if there's any bugs I compiled the tutorial quite quickly.
I have a successful ubuntu/macOS/Windows triple boot going after a lot of hard graft.
Credits to: RehabMan, wmchris, bozma88, anyone else who helped me earlier in this thread, and everyone else who had a hand in the files attached to the post!
Edit: 1 - Sorry I broke brightness using the wrong SSDT-PNLF.aml, reverted back to the one from the 9550 thread.
FYI, If anyone is suffering from the screen flickering bug in Windows, as far I can tell ubuntu and macOS do not suffer from this problem, so it probably is an Intel/Dell windows driver issue.
Attached Files
 HackrNVMe.zip 90.19KB 7 downloads
- AudioFix.zip 1.24MB 9 downloads
- CLOVER.zip 4.56MB 9 downloads
S써니
댓글 31

7세대i7에 UHD면 좋은사양인데 그래픽이 내장이여서 어떤노트북인지 궁금합니다.


뭐 맥북에 지문인식이 도입되면 어느정도 가능성은 있지만 현재시점으로봐서는 불가능이죠.


2. 이 게시물에 첨부 된 파일 다운로드
3. USB의 / EFI /에있는 EFI 파티션에 CLOVER 폴더의 압축을 풉니 다.
4. HD 화면이없는 사용자의 경우 CLOVER / kexts / other 디렉토리에서 CoreDisplayFixup.kext를 삭제하십시오. 너는 필요 없어. (n.b 다른 랩탑에서 이것을 테스트하지 않았으므로 이것이 작동하는지 모르겠습니다.)
5. 4k 섹터 수정을 수행 할 수없는 사람들은 HackrNVMe.zip 파일을 추출하고 kext를 CLOVER / kexts / other 디렉토리에 두십시오. SSDT-Hackr.aml을 / CLOVER / ACPI / patched 디렉토리에 두십시오. (n.b 다른 랩톱에서 이것을 테스트하지 않았으므로 이것이 작동하는지 모르겠다. 4k 섹터 패치를 적용하기 전에 나에게 도움이되었다. 다른 NVM에 대한 자세한 내용은 wmchris의 스레드를 참조하십시오.)
6. USB에서 클로버로 부팅하고, 설치 프로그램을 부팅하고, 필요에 따라 파티션하고, macOS를 설치하십시오.
7. USB에서 클로버로 부팅하고 방금 설치 한 파티션을 부팅 한 다음 설치 프로그램을 실행하십시오. (WiFi 또는 헤드폰은 아직 작동하지 않을 것입니다.)
8. AudioFix.zip을 어딘가에 추출하십시오.
9. 터미널을 열고 AudioFix 폴더로 이동하십시오 (cd).
10. 스크립트 (./install.sh)를 실행하십시오 (재부팅 후 헤드폰과 WiFi를 수정해야합니다).
11. USB의 EFI 파티션에서 랩톱의 EFI 파티션으로 전체 CLOVER 디렉터리를 복사합니다. (diskutil 마운트 disk0s1 및 diskutil 마운트 disk1s1 일반적으로 그들을 마운트).
12. 랩톱에서 클로버를 다시 시작하고 부팅하십시오. UEFI / BIOS에 부팅 옵션을 추가해야 할 수도 있습니다.
13. 이제 제대로 작동하는 Mac을 설치해야합니다!

10.12.4를 못찾았는뎅
10.12.4 순정 어디서 구하죠 ㅠㅠ
잠자기 복귀 후 스크린이 깜빡 거리는 현상은 없나요? 동일한 제품인데 시에라 10.12.6 사용 중입니다.
듀얼부팅 설치는 어떻게 하나요? 해당 가이드는 맥 설치만 되는 것 같아요. 다 갈고 맥 깔고 윈도우 깔고 EFI 수정해야 하나요?
