 3
3
 3
3
Clover 준비 부터 OSX 설치 까지 [영문]
-
 Mactopia
 - 4123
- 4
Mactopia님의 기기정보
CPU : XEON 1230 V2
MAINBOARD : ZOTAC Z77 ITX WIFI
GRAPHIC : AMD RX 570 4096 MB
MEM : 16GB XMP
HDD : SAMUNG SSD 830 256GB
PSU : SliverStone SX600-G
Before you start
Prepare the USB stick
Open Disk Utility.
Select your USB stick, click Partition.
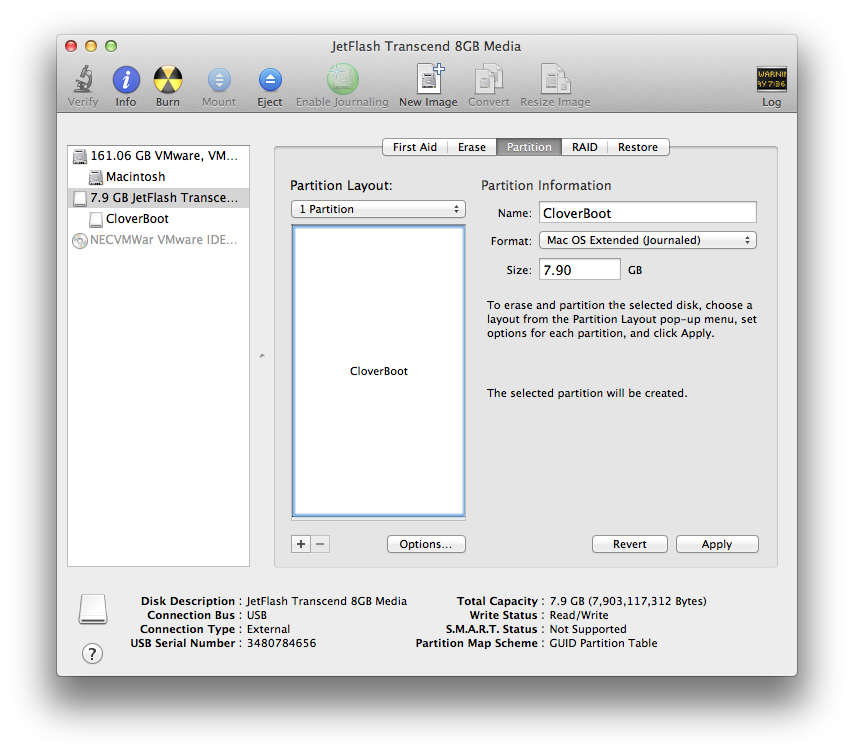
Partition Layout: 1 Partition
Format: Mac OS Extended (Journaled)
Name: CloverBoot
Format: Mac OS Extended (Journaled)
Name: CloverBoot
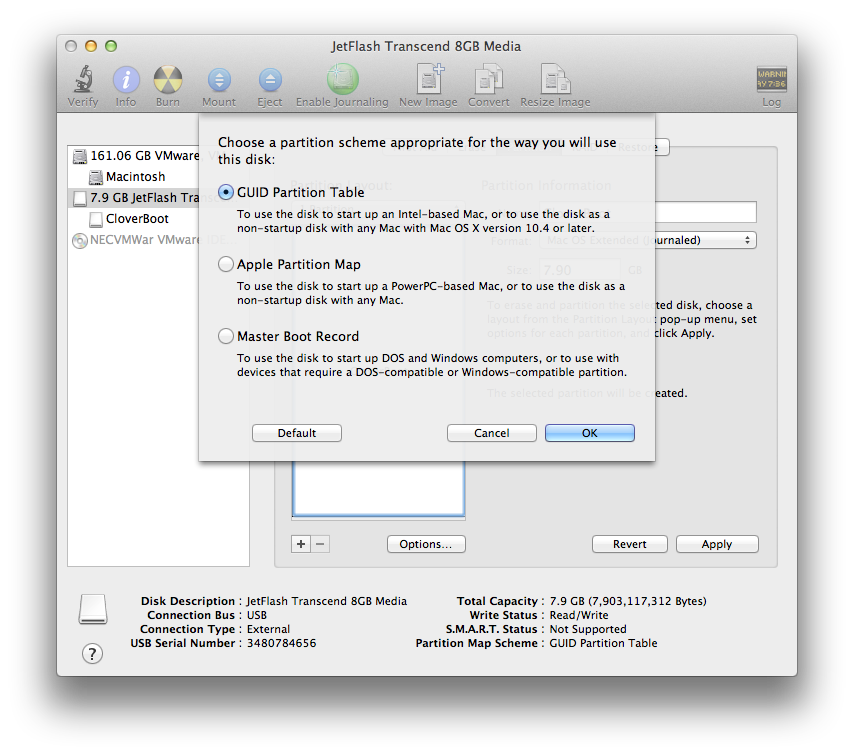
Click Options. Select GUID Partition Table. Apply.
Install Clover to USB or HDD
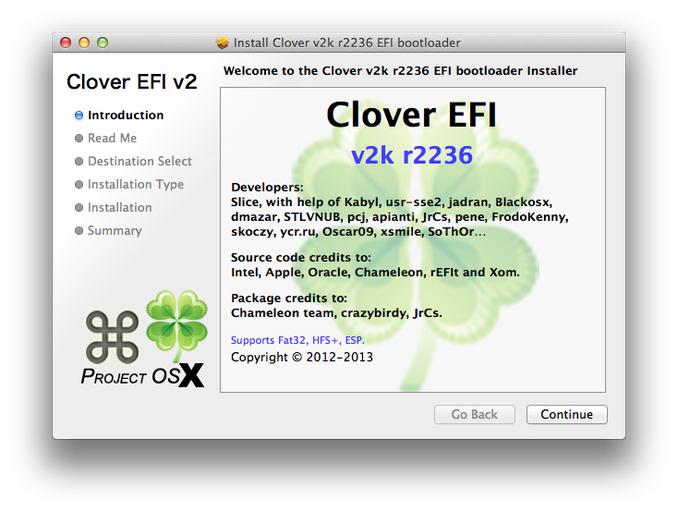
Continue.
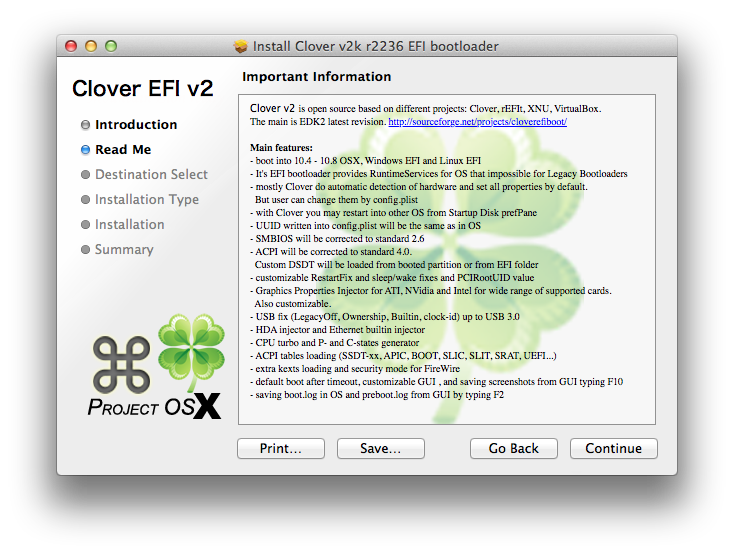
Continue.
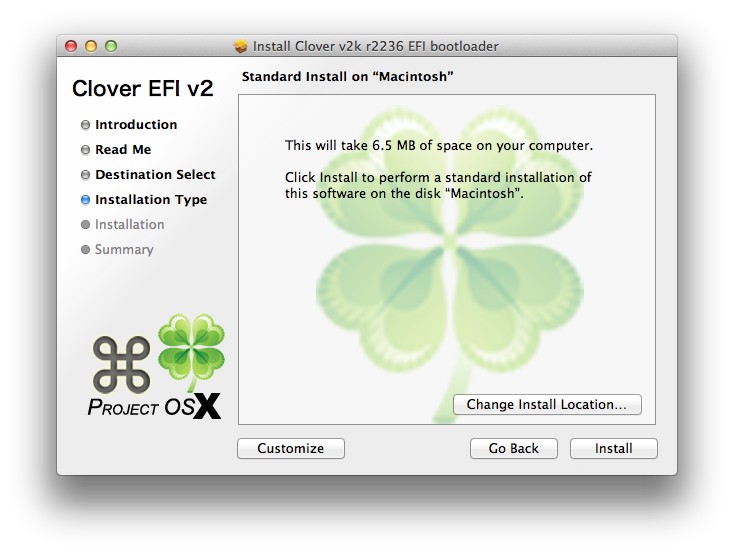
Click "Change Install Location" to select where you want to install Clover.
Click "Customize" to select what you want to install.
Click "Customize" to select what you want to install.
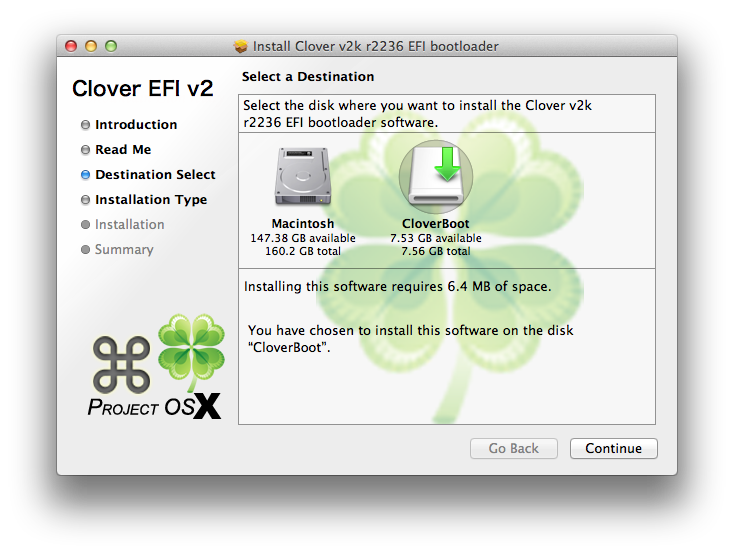
Select your USB stick or HDD.
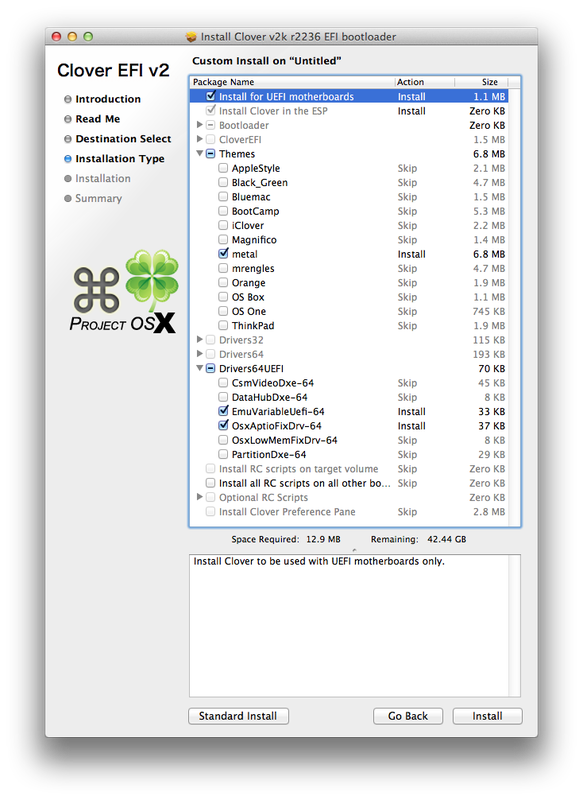
Select "Install for UEFI motherboards", select a Theme and EFI drivers needed for your system.
Explanation: https://clover-wiki.zetam.org/What-is-what#EFI-drivers
Explanation: https://clover-wiki.zetam.org/What-is-what#EFI-drivers
When installing to HDD, also select "Install RC scripts on target volume" and "Install Clover Preference Pane".
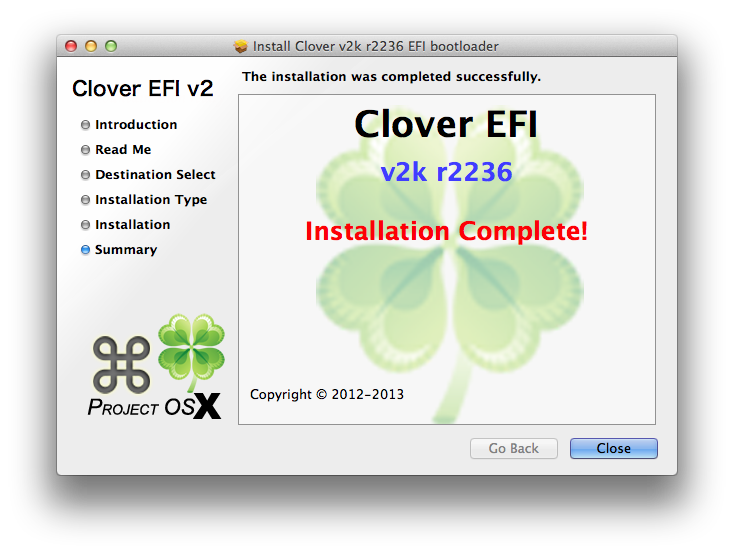
Make sure that it shows "Installation Complete. If not, you have done something wrong.
A common case for failed install is if you already have Clover installed and did not clear nvram before install.
To solve:
Open terminal and type nvram -c
Install Clover again.
A common case for failed install is if you already have Clover installed and did not clear nvram before install.
To solve:
Open terminal and type nvram -c
Install Clover again.
Configuring Clover
You need to copy your kexts to Clover EFI folder and also edit the configuration file.
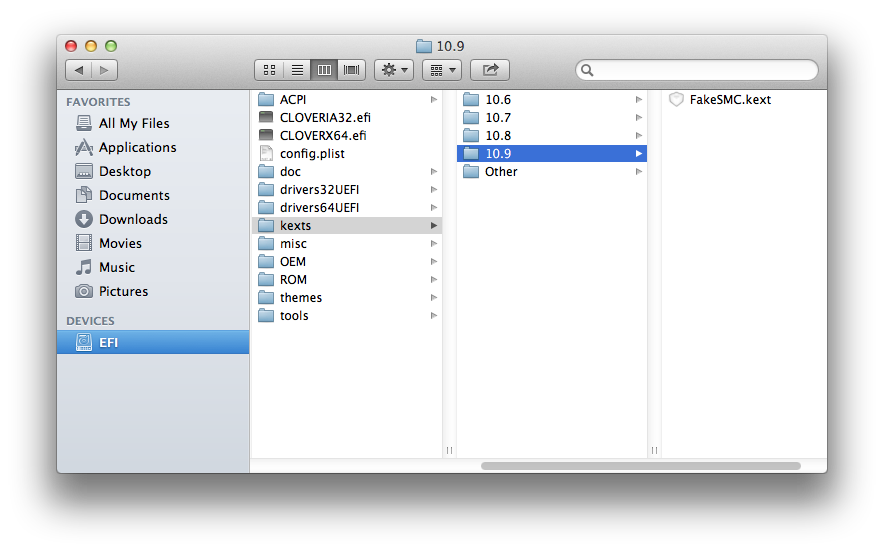
Open /Volumes/EFI or go to Computer and open the EFI partition from there.
Copy your kexts to /EFI/CLOVER/KEXTS/10.9
Copy your kexts to /EFI/CLOVER/KEXTS/10.9
You also need to replace VBoxHfs-64.efi in the drivers64UEFI folder with HFSPlus.efi
(Apple's HFS driver. Required to boot OSX when creating USB stick using this guide.)
(Apple's HFS driver. Required to boot OSX when creating USB stick using this guide.)
Edit config.plist
You can either use Clover Configurator, https://www.osx86.net/files/file/49-clover-configuratorconverter/
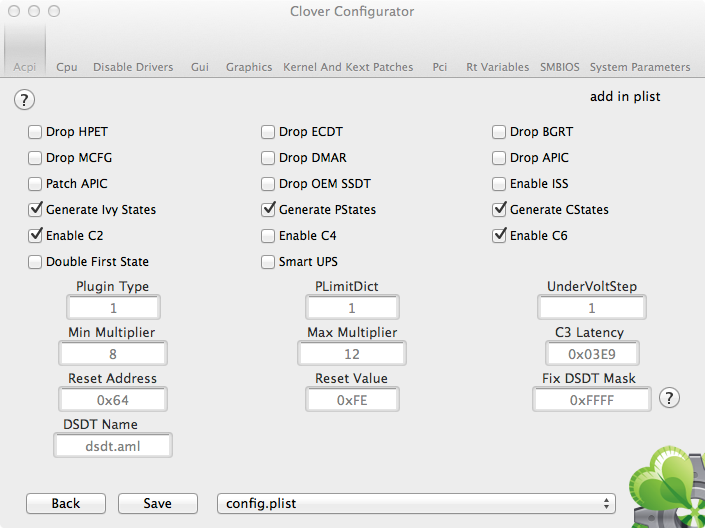
Or do it manually by editing the default config.plist file using a text editor or a plist editor like PlistEdit Pro or Xcode.
Make sure to read the wiki for explanation: https://clover-wiki.zetam.org/Configuration
WARNING: Using the wrong settings may cause damage to your hardware!
WARNING: Using the wrong settings may cause damage to your hardware!
Mavericks to USB
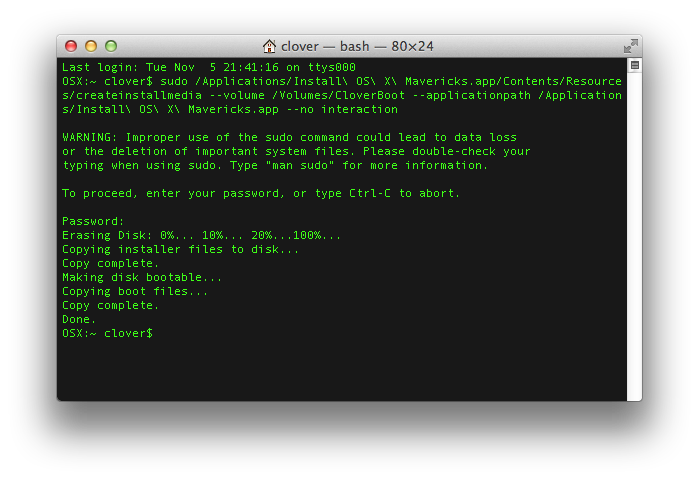
Open terminal and type:
sudo /Applications/Install\ OS\ X\ Mavericks.app/Contents/Resources/createinstallmedia --volume /Volumes/CloverBoot --applicationpath /Applications/Install\ OS\ X\ Mavericks.app --no interaction
It should show:
Erasing Disk: 0%... 10%... 20%... 100%...
Copying installer files to disk...?
Copy complete.
Making disk bootable...?
Copying boot files...
Copy complete. ?
Done.
Copying installer files to disk...?
Copy complete.
Making disk bootable...?
Copying boot files...
Copy complete. ?
Done.
UEFI Firmware Settings
Press Del or F2 on your keyboard to access firmware settings and go to "Advanced Mode".
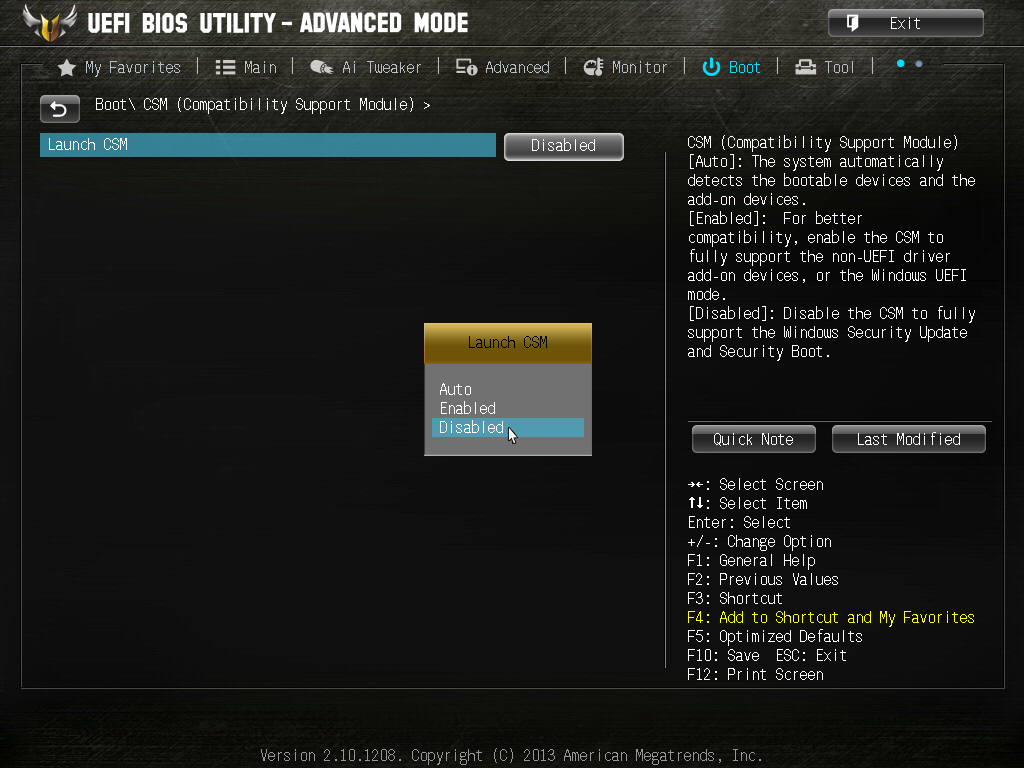
If you have a NVIDIA or ATI GPU with UEFI VBIOS, make sure that CMS is disabled. Else, set it to enabled.
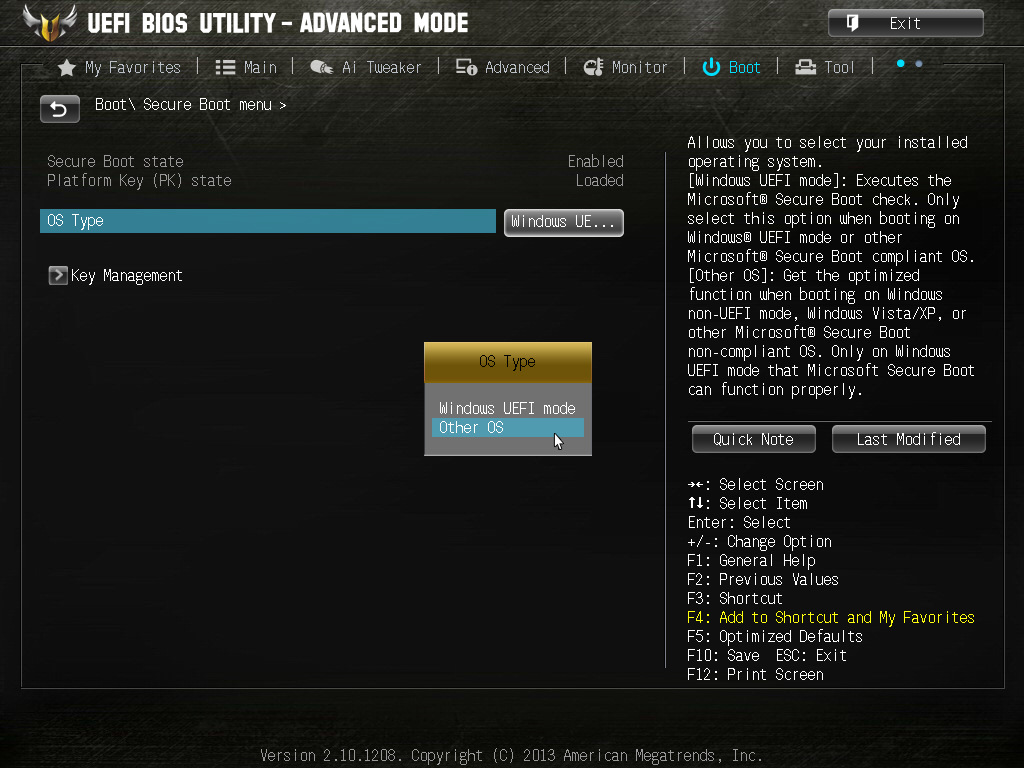
Disable Secure Boot by changing OS Type to "Other OS".
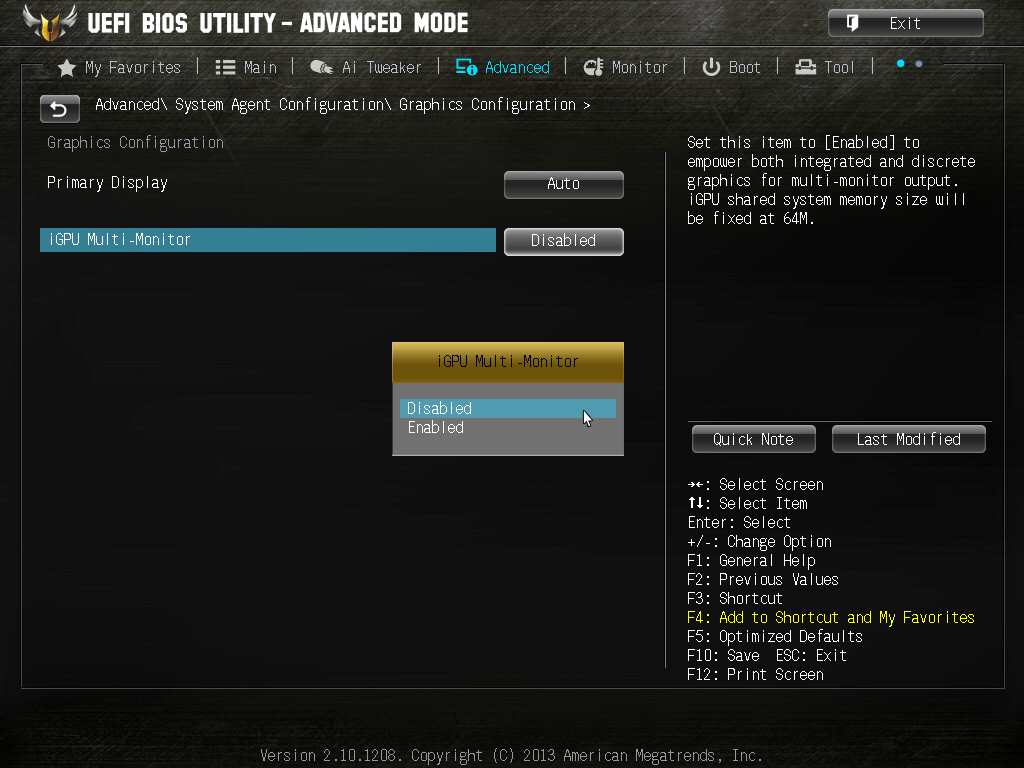
Disable iGP.
The above screenshots is from ASUS BIOS. Search Google if you don't know where to find these settings on your board.
Installing OSX
Boot Clover USB.
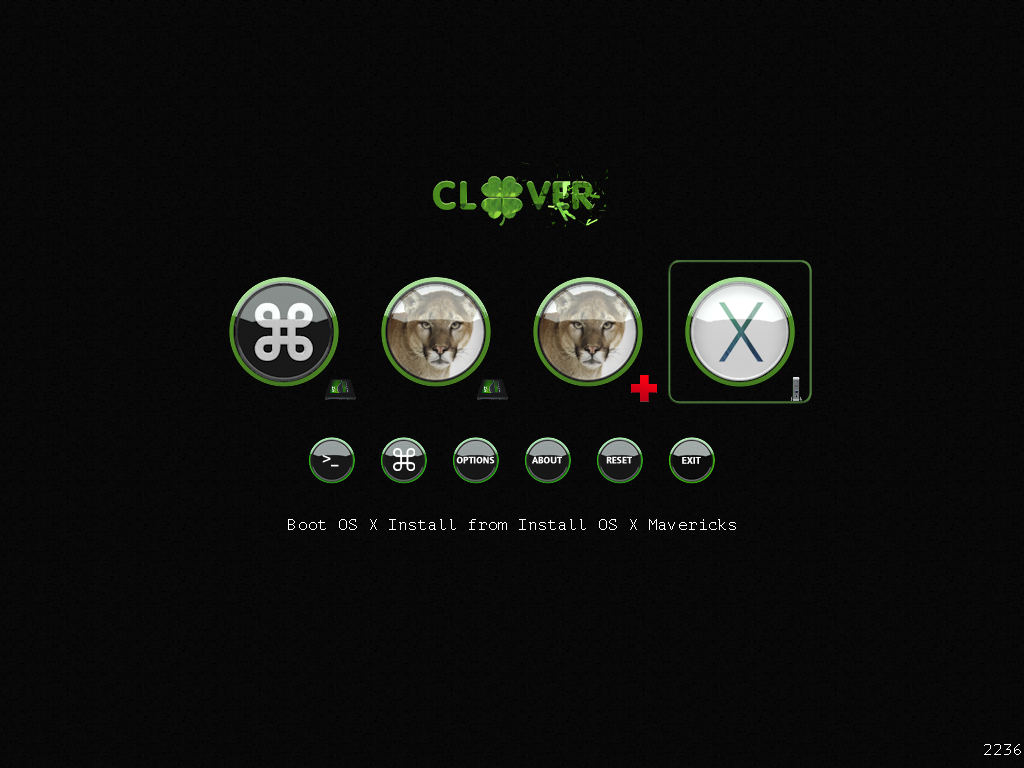
Select "Install OS X Mavericks" on the list of bootable OS.
Press space.
Press space.
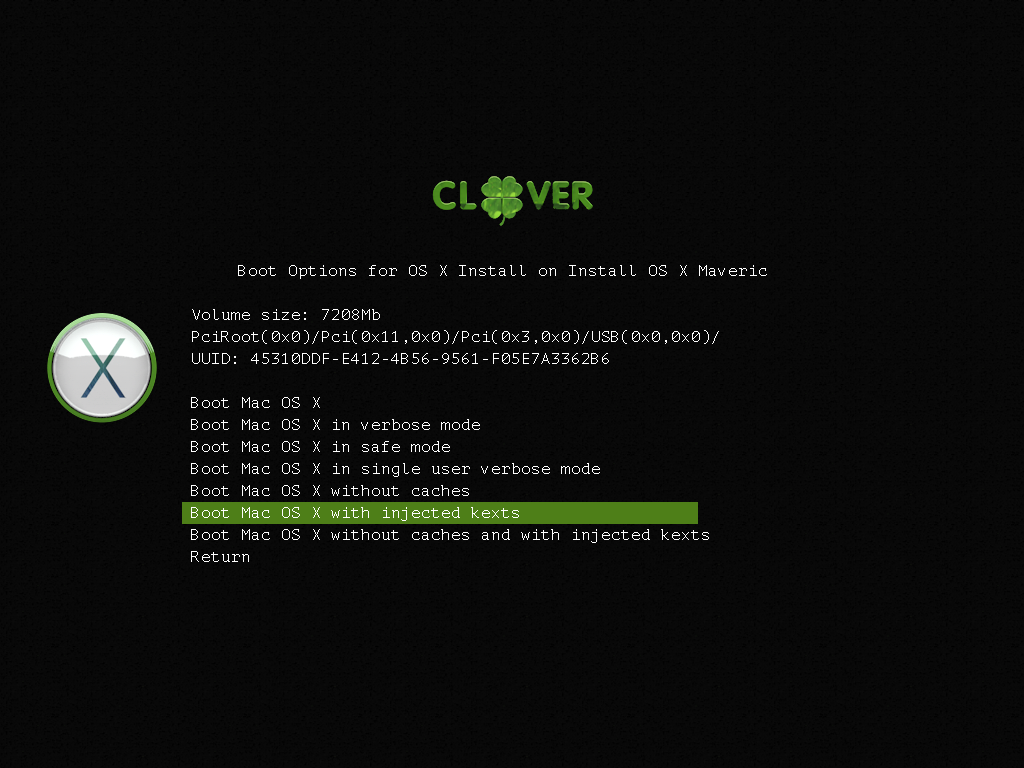
Select "with Injected kexts".

Wait....
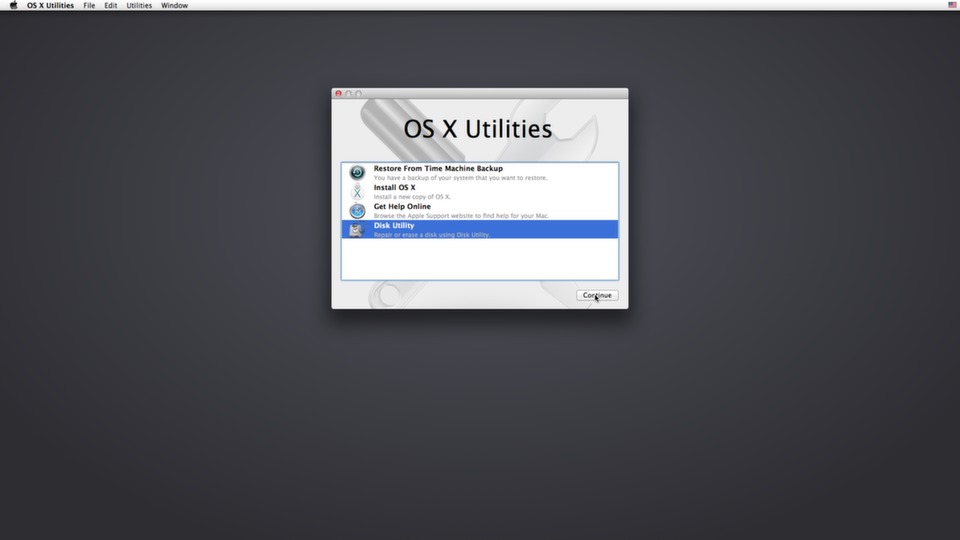
Click Disk Utility.
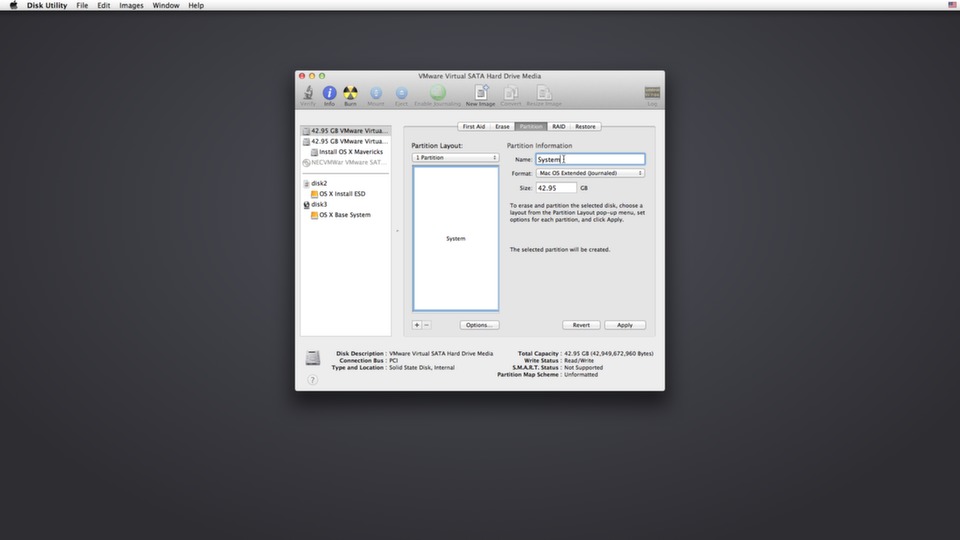
Partition. Note: OSX will also create hidden EFI and Recovery partitions.
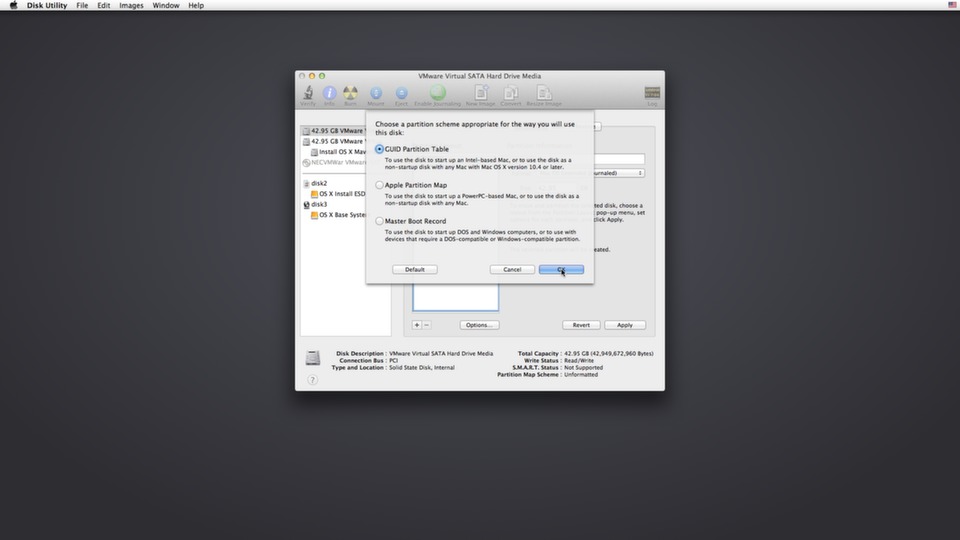
GPT.
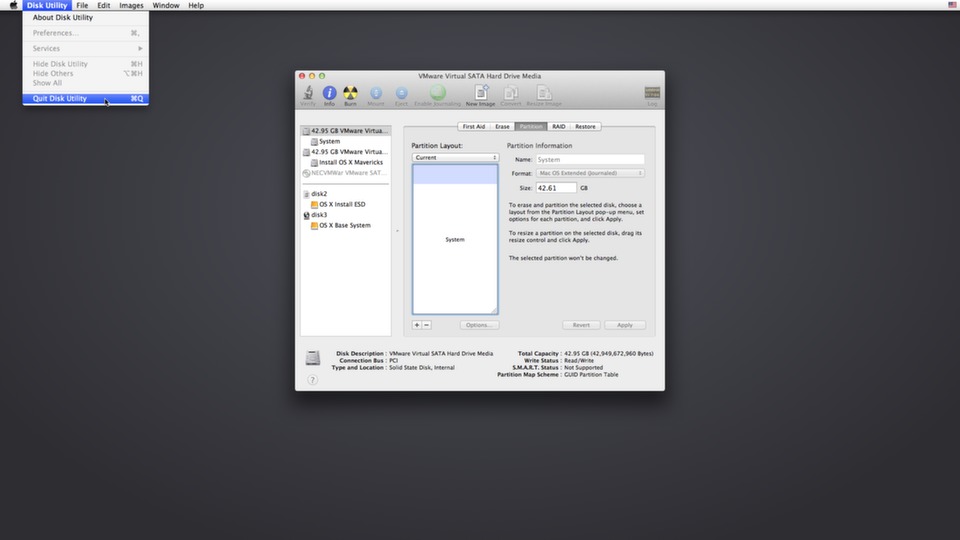
Quit.
Click "Install OS X" on the OS X Utilities screen.
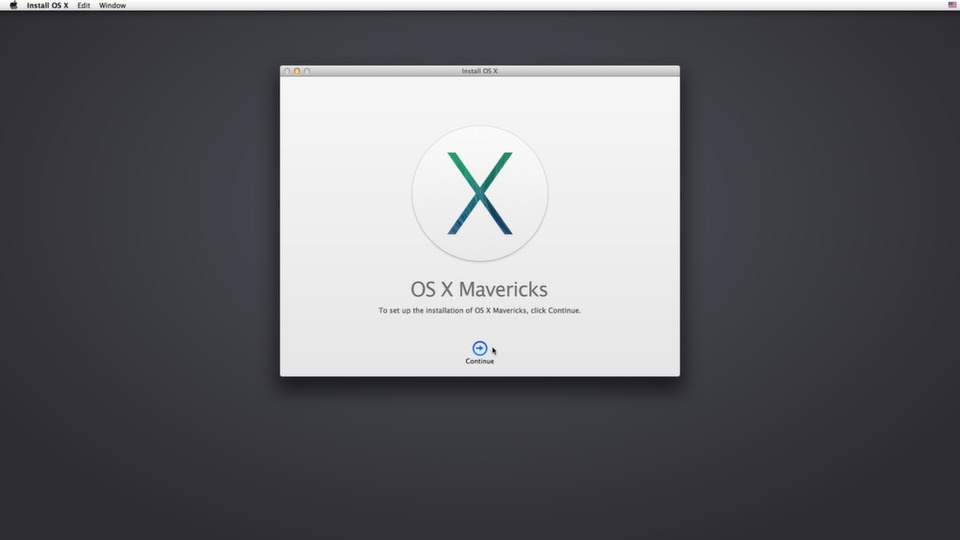
Continue.
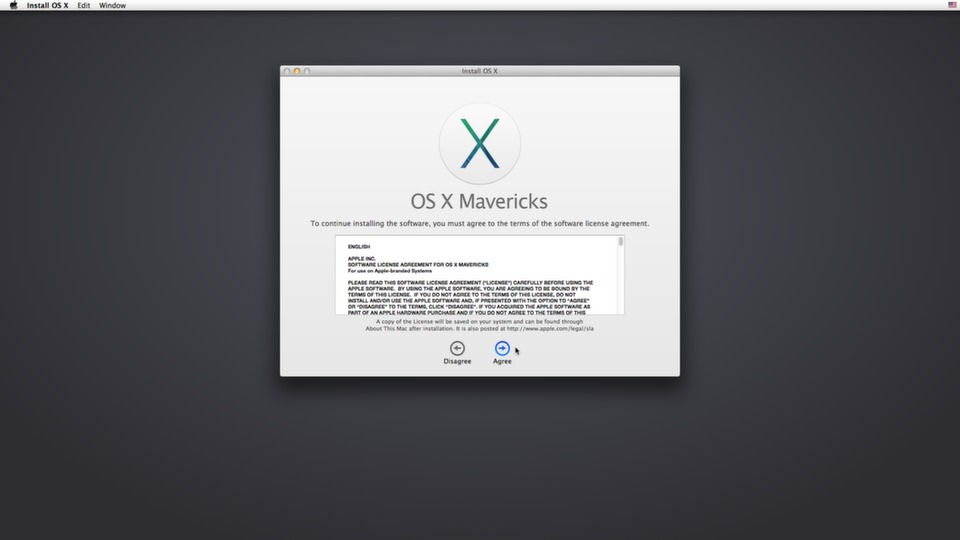
Agree.
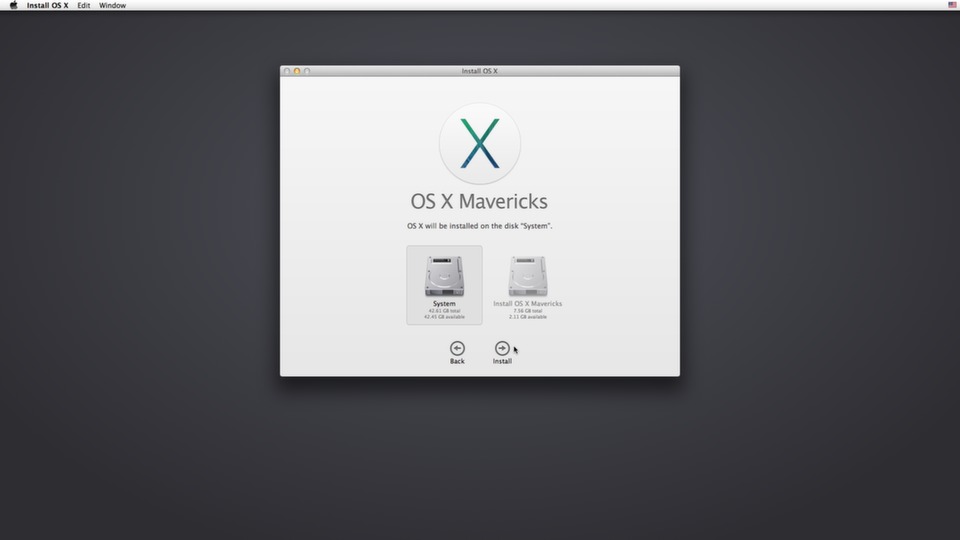
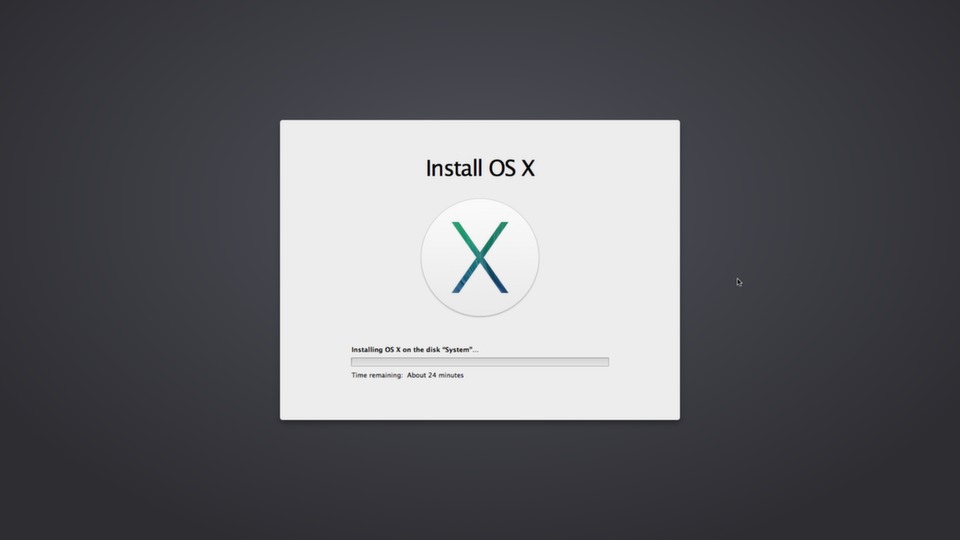
Select OSX HDD/Partition. Click Install.
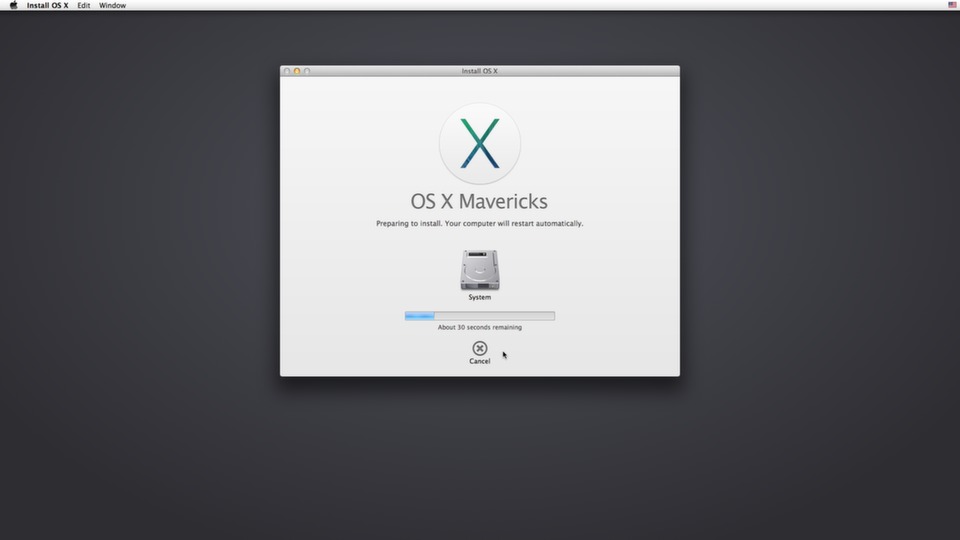
Wait few minutes, it will reboot when it finishes.
Boot Clover again. Select Install OS X Mavericks and press space. Select Inject kexts.
Boot Clover again. Select Install OS X Mavericks and press space. Select Inject kexts.
It will now continue the Installation process.
zZzZzZzZz.........
zZzZzZzZz.........
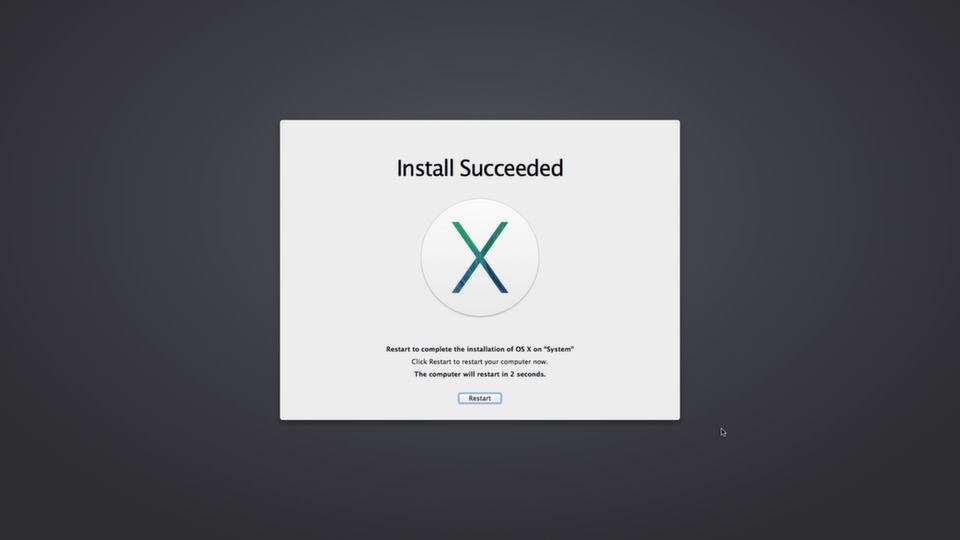
Restart.
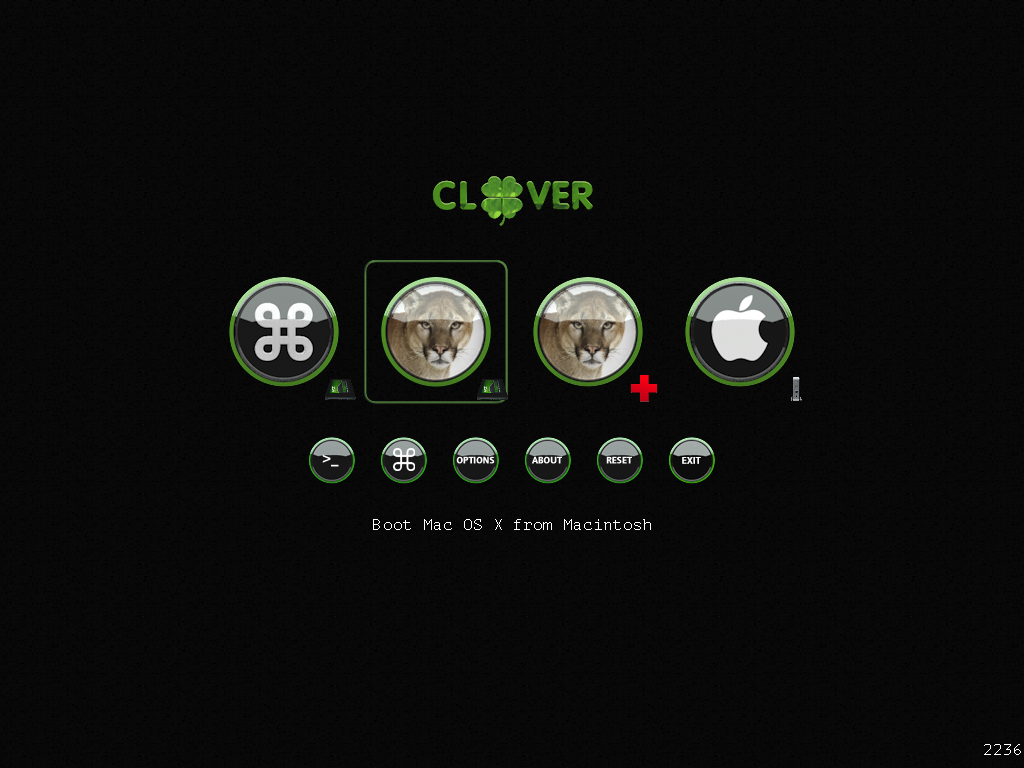
Select HDD or Partition where you installed OSX. Press space.
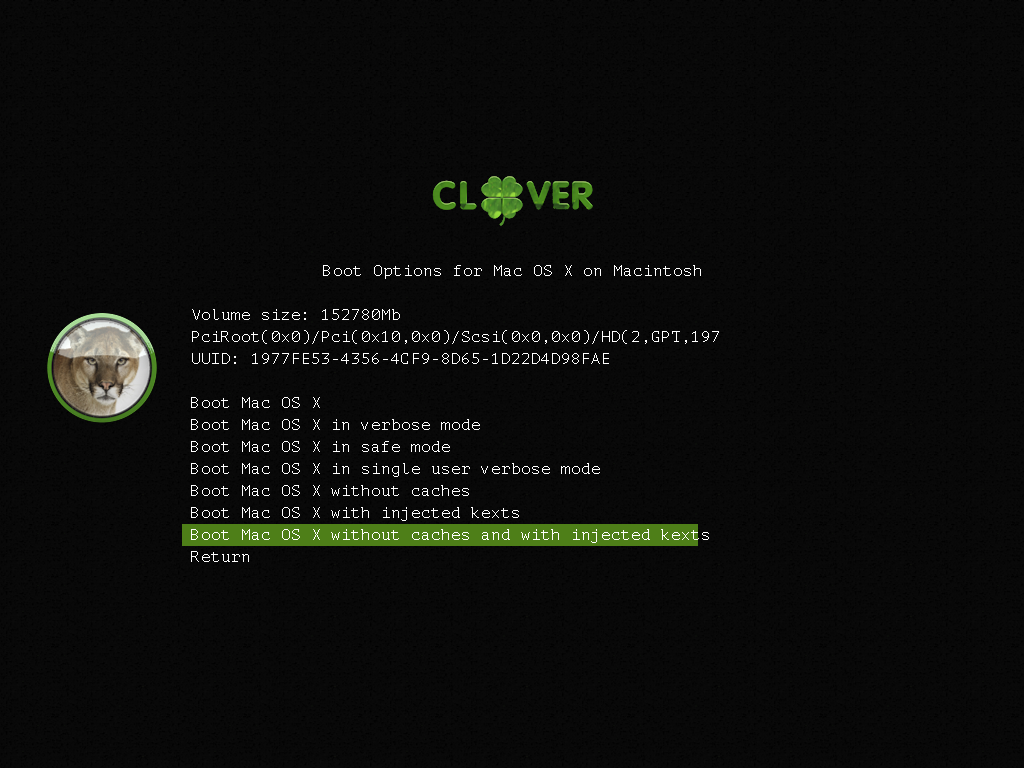
Select "without caches and with injected kexts".
A must kext to be able to boot OSX. Download the binary zip and extract it to get FakeSMC.kext
Kexts for Intel ethernet cards.
Supported IDs:
0x105E, 0x105F, 0x1060, 0x10D9, 0x10DA, 0x10A4, 0x10D5, 0x10A5, 0x10BC, 0x107D,
0x107E, 0x107F, 0x10B9, 0x108B, 0x108C, 0x109A, 0x10D3, 0x10F6, 0x150C, 0x1096,
0x1098, 0x10BA, 0x10BB, 0x1501, 0x1049, 0x104A, 0x104B, 0x104C, 0x10C4, 0x10C5,
0x104D, 0x10BF, 0x10F5, 0x10CB, 0x10BD, 0x10E5, 0x294C, 0x10C0, 0x10C3, 0x10C2,
0x10CC, 0x10CD, 0x10CE, 0x10DE, 0x10DF, 0x10EA, 0x10EB, 0x10EF, 0x10F0, 0x1502, 0x1503, 0x153a, 0x153b, 0x1559, 0x155a, 0x15a0, 0x15a1, 0x15a2, 0x15a3.
0x104B and 0x10F6 are supported by Apple's Intel82574L.kext and is removed from this kext.
Supported cards: 82575, 82576, 82580, dh89xxcc, i350 and i210, 82580 and maybe more.
Realtek NIC kext.
Supports:
RTL8100E, RTL8101E, RTL8102E, RTL8103E, RTL8168B/8111B, RTL8168C/8111C, RTL8168CP/8111CP, RTL8168D/8111D, RTL8168DP/8111DP, RTL8168E/8111E, RTL8168E-VL/8111E-VL, RTL8168F/8111F, RTL8169, RTL8169S/8110S,
RTL8169SB/8110SB, RTL8169SC/8110SC, RTL8401, RTL8411, 8112L, 8111C/8111D/8111E/8111F, 8105 Series.
Kext for built in audio. Supports most ALC codecs.
Use if you get kernel panic and if Clover AsusAICPUPM patch does not work for you.
PS/2 Controller for Keyboard & Synaptics TouchPad.
[출처] : https://cloverboot.weebly.com/before-you-start.html
Mactopia


sudo 로 매버릭스 파일을 usb로 옴기는 과정에서
시간이 얼마나 걸리나요? 저는 터미널에서 명령어 딱 치는순간 터미널이 멈춘것마냥 Copying installer files to disk...? 이 부분에서 넘어가지않네요
제가 참을성이 없어서 그런지 ㅠㅠ 아니면 정말 멈춘건지를 분간이 안가서 걱정이네요 ㅠㅠ
혹시 명령어 치고 나서 시간이 얼마나 걸리나요??